
Lighting and ventilation are critical aspects in both function and beauty when designing or updating a room. Recessed lighting and ceiling fans are two ways to convert your space—making it comfortable, stylish and functional. But if you want to get them just right, you need to know what you’re doing — like how to properly identify and install a downrod for your ceiling fan or how to select recessed lights for a drop ceiling.
Thank you for reading this post, don't forget to subscribe!This guide will go over all that you need to know about downrods, ceiling fans, and drop ceiling recessed lights. You’ll discover why downrods are important, how to choose the right one, tips for recessed lighting and what common mistakes to avoid.
The Importance of Downrods for Fans Installation
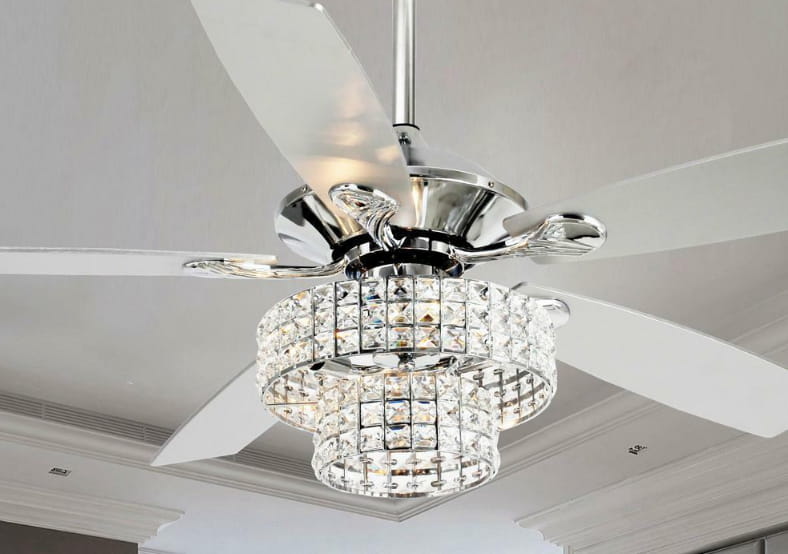
Downrods are an important, typically overlooked part of a ceiling fan installation. A downrod is a metal pipe that connects the fan to the ceiling mount, hanging it down into the room. A downrod makes sure a fan can turn both safely and efficiently, whether your ceiling is high, low, or sloped.
Why Downrods Are Important
Right Positioning: The air must flow through the ceiling fans; therefore, they require the right positioning. Fans that hang from a high ceiling without a downrod can be located too high up to effectively circulate air throughout the room.
Safety: A downrod secures the fan at the appropriate height, keeping it from being too close to the ceiling (or to anyone) and compliant with safety codes.
Scale and Style: The right downrod keeps the fan in proportion to the room, enhancing the design look and feel.
Step one in understanding why downrods matter: know your winner — but how do you pick one out for your space?
A Guide for Choosing the Right Downrod Length for Your Ceiling
The proper downrod length is based on your room’s ceiling height and the fan’s use. A fan that’s too close to the ceiling won’t circulate air effectively; one that’s too low can be dangerous or visually awkward.
Downrod Length Guidelines
You can also measure your ceiling height to find out the right length. Keep this handy guide at the ready:
For ceilings under 8 feet: Choose a flush mount (no downrod needed).
Ceilings 9 feet: Use a 6-inch downrod.
Up to 10-foot ceilings: Use a 12-inch downrod
12-foot ceilings and up: Punch a 24-inch or longer downrod through the roof, depending on the height.
Tip for Sloped Ceilings
If you’re putting a fan on a sloped ceiling, you’ll need an angled ceiling mount and a downrod of sufficient length to keep the blades level and unobstructed.
How to Install a Ceiling Fan (with Downrod) in 10 steps
Now that you’ve chosen the proper downrod for your ceiling, it’s time to implement the installation. Here’s a straightforward step by step of how to do it:
Tools You’ll Need:
- Screwdriver
- Adjustable wrench
- Ceiling fan assembly (downrod)
- Ladder
- Voltage tester
Steps:
Turn Off Power: Safety first! Turn off electricity at the breaker
Fasten the Mounting Bracket: Install the ceiling fan mounting bracket to the electrical box tightly.
Attach the Downrod: Connect the downrod to the fan-motor and secure with screws according to manufacturer guidelines.
Wire the Fan: Connect the ceiling wires to those on the fan, usually black to black (hot), white to white (neutral), and green to green (ground).
Install the Fan: The next step is to attach the downrod and fan motor assembly to the ceiling mounting bracket. Ensure it’s tight and level.
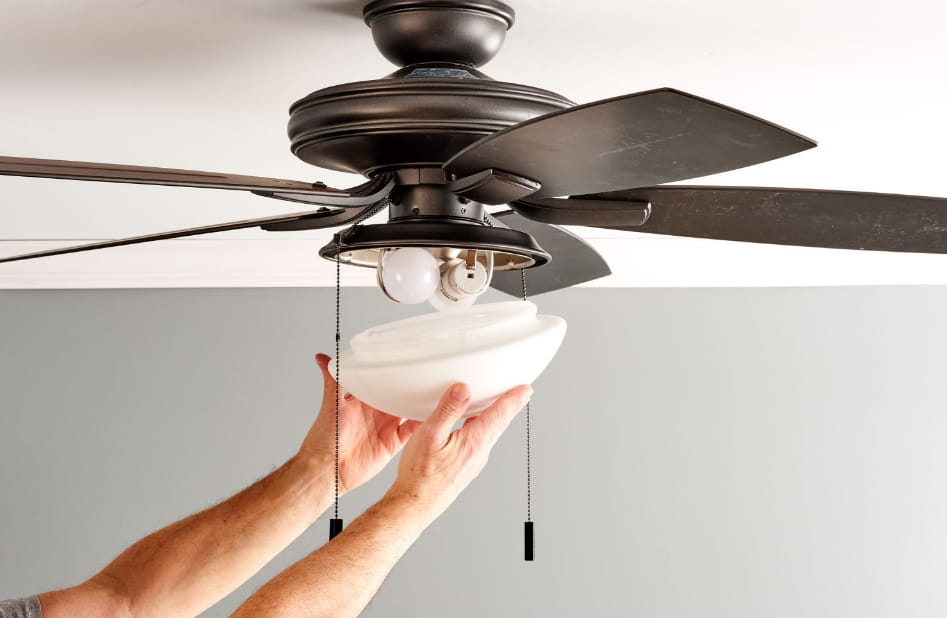
Install the Blades and Finishing Parts: Attach the fan blades and any light kits that come with your fan.
Fan Test: Power up and test your fan to make sure it is working smoothly.
You are now most of the way to a functional and stylish ceiling setup. But don’t stop at just a piece — lighting can elevate your design even further.
Drop Ceiling Recessed Lighting
As with finished basements and office spaces, drop ceilings offer some specific opportunities for recessed lighting installations. Recessed lights (also called can lights) are built into the ceiling for a streamlined, polished look free of bulky fixtures.
Why Choose Recessed Lights?
Thin Visuals: Ideal for low ceilings or minimalist aesthetics.
Adjustable Light Levels: Make the moment with dimmable and adjustable fixtures.
High Space Efficiency: Recessed lights keep the headspace unencumbered unlike pendant lights or chandeliers.
Top Recessed Lighting Solutions for Drop Ceilings
LED Lights: Highly efficient, last for years, come in different color temperatures.
IC rating fixtures: These are designed to be in contact with the insulation and not overheat.
Adjustable Trim Fixtures: Direct light exactly where it’s needed, great for task or accent lighting.
How to Install Drop Ceiling Recessed Lights
This may not do it justice, but there is not really over-head light for this portion, so installing recessed lights in a drop ceiling is necessary.
Installation Tips:
Plan Your layout: Sketch out your lighting arrangement beforehand Try to space things out evenly and make adjustments for focal points like seating areas or workspaces.
Make the Cutouts: Cut holes in the ceiling tiles using a hole saw matching your fixture size.
Secure the Lights Follow the manufacturer’s instructions to attach the light housing to the tile or supporting bars.
Plumb the Fixtures: Attach the lights to electrical wiring, making sure the all connections are secure and insulated.
Check AlignmentRepeat installation of the tiles, making sure everything is flush for a clean finish.
Pro Tip:
Use light fixtures built specifically for drop ceilings so that they put the least amount of strain on the tiles.
How to Avoid Common Installation Errors
Wrong steps when installing fan or lighting can make for a frustrating experience—or even bring a safety risk.
Mistakes to Watch Out For:
Oversight in Ceiling Height: The wrong downrod or neglecting to account for clearance can result in the wrong airflow or safety hazards.
Wiring Error: Make sure that all connections are appropriate to avoid electrical short-circuiting, flickering, or broken lights.
Heavy Recessed Lights Overloading Ceiling Tiles: Never install heavy recessed lights that could cause the drop ceilings of panels to sag.
With careful planning and attention to detail, many of these headaches can be avoided, leading to a smoother installation process.
The Importance Of Correct Lighting And Fan Installation
Properly installed fans and lighting are more than just pretty additions to your home. Here are some key benefits:
Energy Efficiency: Ceiling fans reduce cooling costs and LED recessed lights use less energy.
Greater Comfort: When systems are correctly installed, they can help to improve airflow and light distribution, creating a functional yet inviting space.
Improved Atmosphere: With a good ceiling set up, you can make your space look classy and wow anyone who will enter your space.
Make a Space That Feels Comfy and Stylish
Ceiling fans and recessed lights may seem like unassuming light fixtures, but when considered carefully, they can and will change the impression of your space. From specific downrod selection to maximize airflow, to flush or recessed lights to establish a modern tone, no detail is insignificant.
This guide will help you craft a ceiling setup that’s just as functional as it is stylish. And if planned properly, you will spend less time, energy, and headaches in the future.
FOR MORE TIPS TO ELEVATE YOUR INTERIORS? Look out for our other guides to creating the perfect living spaces — whatever your taste or budget.


Your writing is a beautiful reminder that the simplest ideas can often carry the most profound truths.