
Wood is a living, breathing thing. It swells and shrinks with temperature changes, ages beautifully over time, and bears a tale in its knots and grain. But no matter how beautiful the woodwork, gaps, cracks and flaws are an inevitability. Whether you build custom furniture, repair existing doors, or put the finishing touches on a new project, addressing flaws is a big part of keeping the end product looking and functioning as good as new.
Thank you for reading this post, don't forget to subscribe!Enter wood fillers. These all-purpose solids are your secret weapon for flawless repairs and stunning finishes. Because there are so many different types of fillers on the market, it can be tough to wade through the options alone. With this guide, you’ll know all your wood filler options and how to use them to perfection so that every project is as long-lasting as it beautiful.
Types of Wood Fillers
But not all wood fillers are equal, and some don’t live up to the manufacturer’s claims. Various projects and types of wood require different formulations. So, here are some of the main types of wood fillers worth considering:
Traditional Wood Fillers
For woodworking repairs, it doesn’t get much more tried and true than traditional wood fillers. They consist of wood particles or sawdust bound together with a binder mixed with syrup and are great for small to medium gaps.
Pros: Easy to work with, good for small imperfections, paintable and affordable.
Cons: Limited flexibitlity, color and contour may not perfectly duplicate wood grain, not for high moisture areas.
Example: Filling holes from nails in the ‘build-it-yourself’ painted wood shelf.
Epoxy Fillers
Epoxy fillers are hard, two-component fillers with resin and hardener. They are valued for their toughness and longevity.
Pros: Waterproof, very versatile and great for structural repairs like rotted wood.
Cons: Mixing necessary, painted surfaces for bread-and-butter counters only if you need grain matching.
Application Example: Resurface distressed outdoor furniture or framing.
Water-Based Fillers
Water-based fillers are also environmentally friendly and can clean up with water, therefore are often used for interior work.
Pros: Dries quickly, low odor, and comes in different colors to match various wood tones.
Cons: Not as durable for outdoor or high-traffic areas.
Application Example: Fixing cracks in the interior furniture or trim.
Other Specialized Fillers
Oil-Based Fillers: Ideal for completing open-grain woods such as oak or mahogany.
Latex Filers: Add a flexible and paintable filler, also good for filling in molding gaps.
Shellac Based Fillers: Good for fine, detailed work such as antique restoration etc.
Choosing the Right Filler
There are lots of factors that determine the ideal wood filler for your project. Here’s how to narrow down your options and make the best one.
Consider the Type of Wood
Not all fillers take to all woods equally well. For example, epoxy fillers do really well on softer or damaged wood while water-based fillers go better with harder, smoother woods.
Define the Project Requirements
Ask yourself these questions:
- Is the repair for structural or aesthetic purposes?
- Is the wood going to be wet or humid?
- Does it matter if the wood grain or stain match?
Exterior decking that has come into contact with outdoor elements would benefit from waterproof epoxy filler, whereas water based filler may be more suitable in an indoor wood grain matching situation.
Think about the Qualities of the Filler
Consider the drying time, compatibility with staining or painting, and durability of each filler. Fast-drying ones might be preferable for touch-ups, while more durable fillers are crucial for high-wear surfaces.
How to Fill Gaps: A Step-by-Step Guide
You’ve chosen your wood filler, so now it’s time to fill the gaps. Take these simple steps and wear it perfectly.
Clean the Surface
Clean any dirt, dust or loose wood fibers out of the crack with a small brush or pressurized air. This will make the filler adhere better.
Mix the Filler (If Needed)
Some fillers, such as epoxy, involve mixing the resin and the hardener. Be sure to follow the manufacturer’s instructions to mix the correct ratio.
Apply the Filler
Fill a putty knife with filler and push it deep into a gap. And for more substantial cracks, apply it in layers, allowing each one to dry before the next.
Smooth the Surface
Then, with the level of the putty knife, wipe the filler and draw the gap in the region of the wood.
Allow to Dry
Verify the drying time for the filler on the label. You don’t want to shortcut it because you’re likely to lose more than you gain.
Sanding and Finishing
Sanding is the magic part. It not only helps smooth surfaces, but also preps fillers for staining or painting.
Start with Coarse Sandpaper
Sand the filler and the wood smooth with 120-grit sandpaper. This trims off the any excess fill and helps to create a smooth mix.
Switch to Fine Sandpaper
And for final, finishing touches, move to 220-grit sandpaper for a silky-smooth finish that’s perfect for finishing.
Inspect and Reapply
If the filler “shrinks” or you see any imperfections, apply another coat and repeat the sanding.
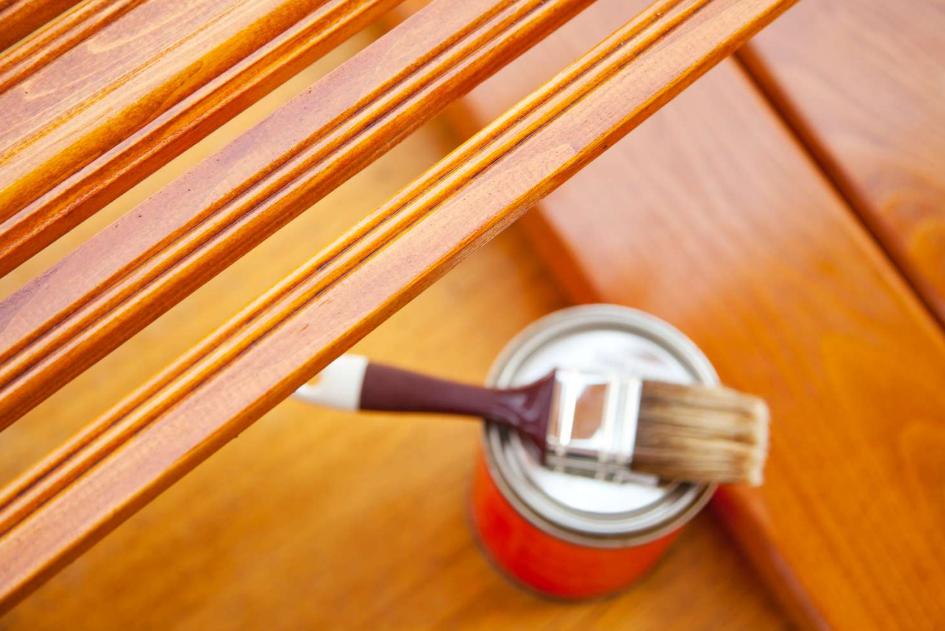
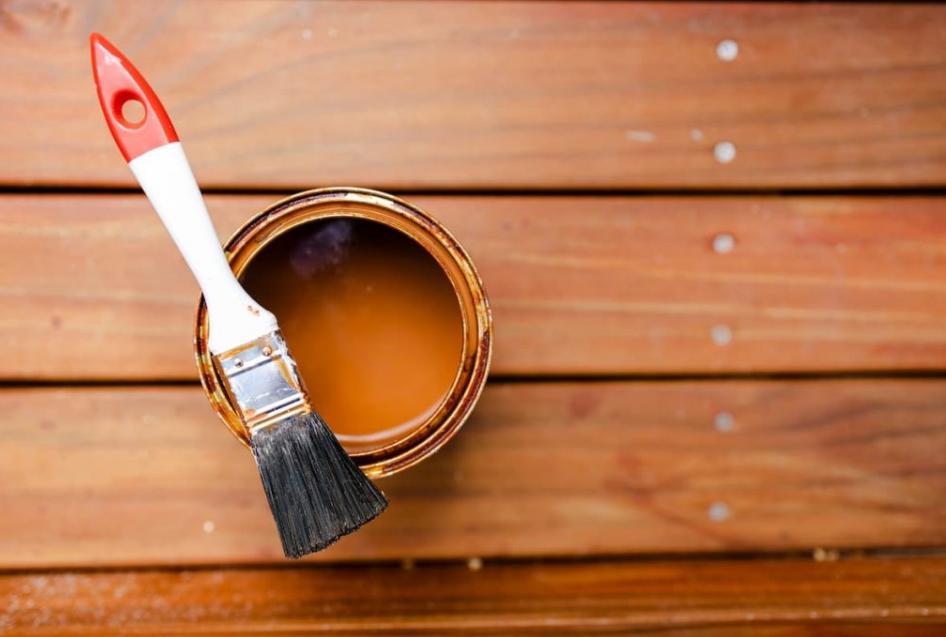
Sealing and Protection
To extend the life of your work, seal and protect the surface with a suitable product.
Choose the Right Sealant
For indoors, water-based polyurethane or shellac can also be effective. For exterior projects, look for oil-based sealants or marine-grade varnish.
Apply Multiple Coats
Always refer to the manufacturer’s instructions for how to layer your sealant. You can see on most anything the second to third coat is always a plus.
Maintain and Monitor
Sealed surfaces also wear out through time. Inspect the seal for cracks or damage periodically and re-seal as required.
Easy Wood Finishing – Even Repairs Done Right!
No matter if it’s a custom dining table or a basic shelf, every great piece of woodwork deserves to have that finishing touch. Knowing how to select and use the proper wood filler is key in moving your projects to the next level from good to great.
So next time you’re dealing with an irritating gap or crack, don’t sweat it. With the detailed advice in each of the tips above, you will be well prepared to handle any woodworking mistake.
And keep in mind, practice and patience is everything. The correct filler and a little patience can turn a trashy surface into a treasured work of art.