
Are you scrolling through for a perfect way to spice up your house with some character? Beadboard ceilings may be the solution. PerfectlyEmbracing a classic style using the semi-gloss covering is making a strong return for use when decorating the interior of a home, with its elegant look at a budget-friendly price. Whether it’s a full home renovation or simply upgrading a single room, beadboard ceilings are a great option.
Thank you for reading this post, don't forget to subscribe!Read more to learn about what you should know about beadboard ceilings, including their pros and styles and a simple guide to installing and maintaining them yourself.
Why Choose Beadboard for Your Ceilings?
Not only is beadboard ceilings a practical solution but also a statement piece that adds warmth and personality to every space. Here are the main reasons homeowners and designers are embracing beadboard:
Aesthetic Appeal
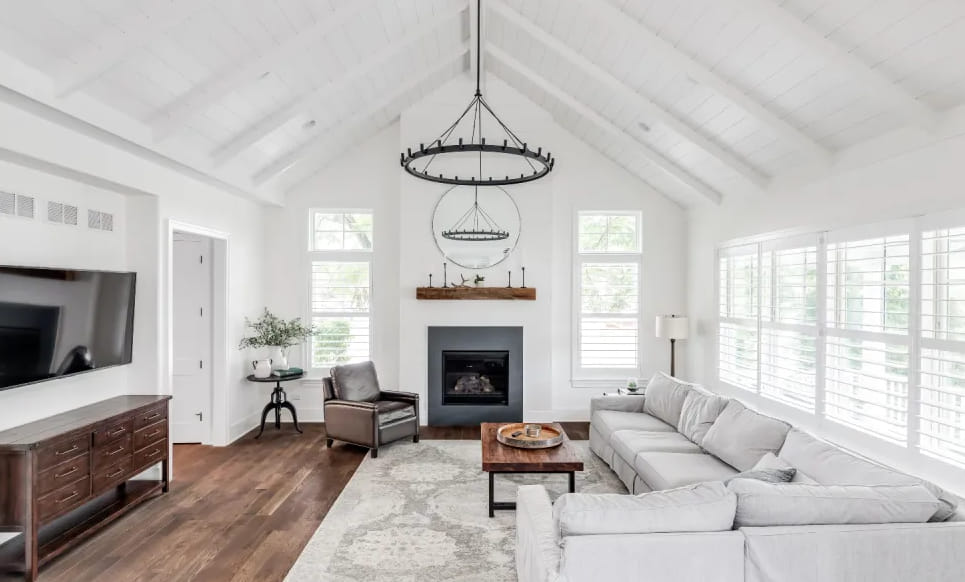
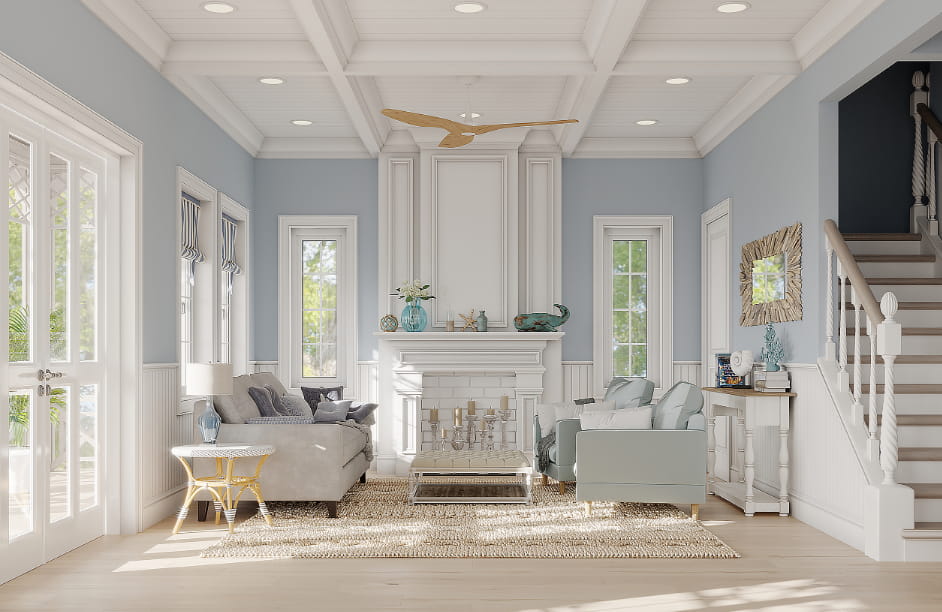
What makes beadboard special are the vertically placed, evenly spaced grooves and ridges. This design adds a bit of vintage elegance and texture, so it works for styles from coastal cottages to farmhouse chic. Beadboard ceilings add a warm and cozy feel, making them perfect for calling attention to otherwise plain or outdated ceilings.
Plus, they’re versatile! Beadboard can be left white or stained to match your color palette, whether it be crisp white ceilings, rustic wood tones or a more colorful statement.
Cost-Effectiveness
Beadboard is an inexpensive alternative compared to other ceiling design choices such as coffered ceilings or decorative beams. Its materials aren’t terribly expensive, and if you’re willing to get your hands dirty to have some fun on a DIY project, you can also save a bit on labor costs.
Ease of Installation
Speaking of DIY, beadboard ceilings are a beginner projet. They’re lightweight, easy to cut and are generally available in panel formats that make installation simple. For the adventurous DIY-er, creating a beadboard ceiling can be a process that brings great satisfaction on a lazy weekend, instantly raising the bar for your space.
Types of Beadboard Ceilings
Not every type of beadboard is the same—with a selection of materials and styles at your disposal to suit your aesthetic and functional needs. The Top Options Are:
Wood Beadboard
Traditional wood beadboard is the material of choice for those looking for an authentic, old-world aesthetic. Wood beadboard can be made from pine or MDF and can be painted, stained, or left natural. Note, however, that solid wood can be pricier and may need more care as time goes on.
MDF Beadboard
MDF (Medium-density fiberboard) is a cost-effective option for solid timber. It has the same grooved look, and it works great with painted finishes. But it’s not as durable as wood and should be kept away from damp or humid areas such as bathrooms.
PVC Beadboard
PVC-beadboard is an especially good option if you’re installing it in moisture-prone environments, like bathrooms and laundry rooms. Unlike wood, it repels moisture, warping and mildew, making it ideal for a humid environment. PVC beadboard is easy to clean and have low-maintenance.
Beadboard Panels vs Individual Planks
There are two main types of beadboard, they are:
Panels — The more straightforward choice to install, beadboard panels cover a greater surface area and minimize seams.
Individual Planks — Great for a more authentic or less uniform look, but more time- & labor-intensive to install.
DIY Installation Guide
Ready to make your beadboard ceiling dreams a reality? To avoid the hassle of installation, follow these step-by-step instructions:
Step 1: Gather the Tools and Materials
You’ll need:
- Beadboard panels or planks
- Measuring tape
- Pencil
- Saw (for cutting panels or planks to size)
- Adhesive or construction glue
- Nails and nail gun
- Level
- Paint or stain (optional)
Step 2: Measure and Plan
Start by measuring your ceiling’s dimensions to see how much beadboard material you might need. To allow for ease of handling, and precise installation, break the area down into sections.
Step 3: Cut the Beadboard
Prepare the Beadboard (Optional) Measure & Cut A saw serves for neat, precise cutting.
Step 4: Apply Adhesive
Spread a thick layer of adhesive to the rear side of each panel. Press the panel into the ceiling—it’s advisable to start in the corner for a smooth finish.
Step 5: Secure with Nails
Although the adhesive is helpful in keeping the beadboard in place, it’s important to nail the panels in fully with nail guns. This means they [will] be anchored in place over the years and decades.
Step 6: Finish with Molding
Add trim or molding around the edges of your ceiling for that polished, professional look. Seal seams or gaps with caulk for a smooth touch.
Step 7: Paint or Stain
After the beadboard ceiling is installed, apply a top coat of paint or stain. Use semi-gloss paint to make cleaning easier, especially in areas such as kitchens.
Maintenance Tips for Long-Lasting Elegance
For keeping your beadboard ceiling looking new, you should ensure giving it the proper care. Here’s how to do it:
Regular Cleaning
Dust your beadboard ceiling regularly with a microfiber duster or a vacuum with a soft brush attachment. The grooves are wide enough to help prevent buildup.
Moisture Prevention
If PVC beadboard is in the bathroom, wipe the ceiling down periodically to keep mildew at bay. In non-humid conditions, make sure it is well ventilated to prevent wetness from occurring with wooden bead board.
Repainting When Needed
Painted beadboard can become worn over time. Give it a touch-up every couple of years with an additional coat of paint or stain to help keep it fresh.
Inspiration: Timeless Charm for Home
Beadboard ceilings are the right amount of stylish, affordable, and practical. Beadboard fits seamlessly into nearly any design aesthetic, whether you’re going for a rustic farmhouse vibe or a little more modern. With its versatility, simple installation, and low cost, it is a favorite among homeowners, interior decorators, and designers everywhere.
If you are ready to makeover your space and add an element of timeless charm, think about beadboard ceilings for your next home renovation project. Believe us — it’s actually a project worth doing.