
It’s important to have a working shower diverter valve for a smooth showering experience. This is a tiny but crucial part that makes all the difference in whether water runs to your showerhead or bath faucet. When it doesn’t work right, your faucets can do everything from annoy you with leaks and weakened water flow to wasting water. If you have ever scratched your head over a stiff, non-functional shower diverter, or wanted to understand all the ways it can be used, this article is for you!
Thank you for reading this post, don't forget to subscribe!This guide will take you through everything you need to know about shower diverter valves, from their different types, the problems you can have with them when they go wrong and how to fix them.
What Is a Shower Diverter Valve and Why Does It Matter?
Shower diverter valve is a device that water can flow to your showerhead or to bathtub faucet. With this easy feature, you can save the headache of a couple of different plumbing set ups and transition easily from tub to shower with the touch of a finger.
Shower diverters are necessary for both comfort and water conservation. First of all, a faulty valve can mean you always experience annoying start-and-stop showers, not to mention those annoying leaks that always raise your water bill.
What are the different types of shower diverter valves?
Before you try to repair or replace it, it’s good to know what kind of diverter valve your shower uses. There are three main types:
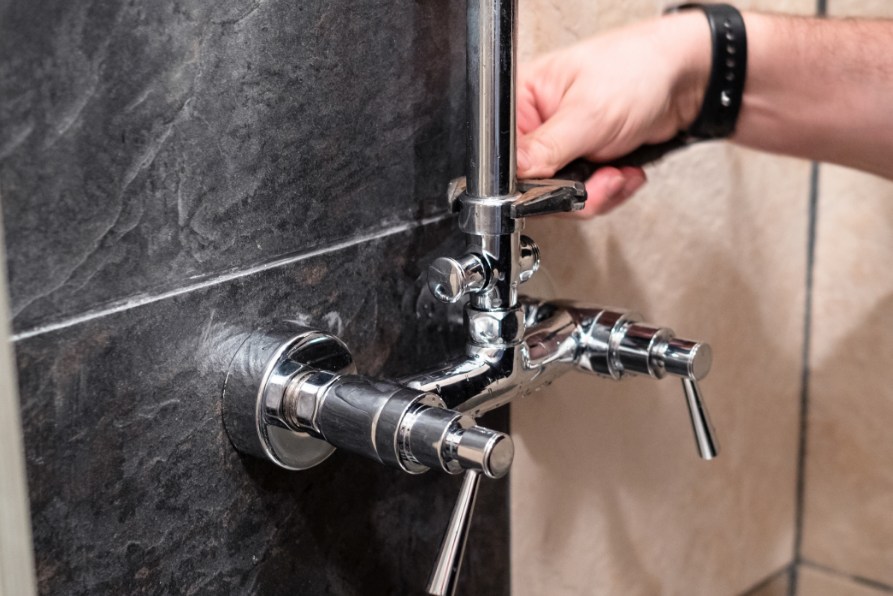
Single-Handle Diverter Valve
One-handle model This style has a single lever that swivels or raises to change the flow. It’s common in new setups and is visually appealing.
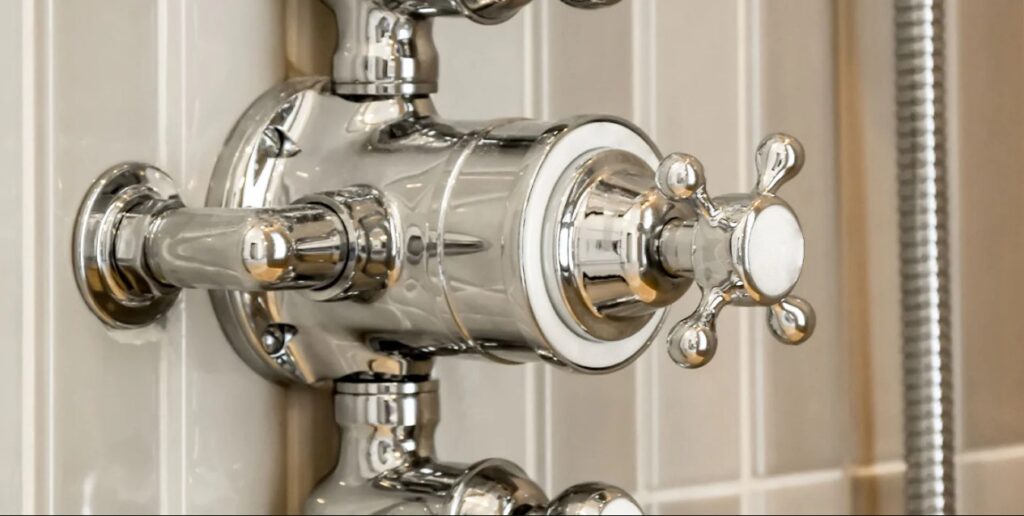
Two-Handle Diverter Valve
Commonly found in standard bathrooms, this style features two handles for hot and cold and another handle to operate the diverter.
Push-Button Diverter Valve
This transfer valve operates with a push-button toggle to direct water between the tub and shower. You can also sometimes spot it in modern, minimalist bathrooms.
Knowing what valve you have is the first step in repairing or replacing it.
How Do You Know if the Shower Diverter is Bad?
Being aware of when your diverter valve needs to be addressed can also help you avoid larger plumbing issues later on. Here’s how to know if it’s broken:
- Water Leaks: If the tub faucet leaks when you’re using the showerhead, there’s a problem with your diverter, because it’s not allowing the fixture to adequately seal.
- Hard Shifting: Since the handles or buttons are stiff, it means that there is an internal valve wear, or there is something that is clogging it.
- Uneven Water Pressure: If there are low or varying water pressures in the shower, it may indicate damage or cloggings inside.
If you see these problems, it’s time to do something.
How to Replace a Shower Diverter Valve (A Step-by-Step Guide) If you have a separate shower and tub and you turn on your shower but instead of the water coming out of the shower head it squirts out of the bathtub faucet, it’s probably because the shower diverter valve is in need of repair or replacement.
Changing a diverter valve can be scary, but with the right tools and this simple guide, you’ll be able to do it yourself. Here’s how:
Tools You’ll Need:
- Adjustable wrench
- Drivers (Slotted and Phillips)
- Plumber’s tape
- Replacement diverter valve
- Silicone grease (optional)
Step 1: Turn Off Water Supply
Locate the main water valve in your home and turn it off to avoid flooding.
Step 2: Remove the Handle
Unscrew the shower handle (or push button) from the wall. You might have to use a flathead screwdriver to gently pry off decorative caps that cover the screws.
Step 3: Get to the Diverter Valve
After you take off the handle, you unscrew the escutcheon plate (the pretty cover) to reveal the diverter valve.
Step 4: Take Out the Old Diverter Valve
Unscrew the old diverter valve from the plumbing with your wrench. Be mindful of not breaking the other parts around.
Step 5: Installation of New Valve
Wrap plumber’s tape around the threads of the new valve to ensure a tight connection. Screw it in place, being sure it is forcefully tightened yet not excessively forced.
Step 6: Reassemble and Test
Reinstall the escutcheon plate and the handle, re-energize the water and try again. Test the diverter to make sure it operates as it should between the tub faucet and the showerhead.
Congratulations! You did it, you replaced your shower diverter valve.
How to Replace a Shower Diverter
Get the most out of your new or existing diverter valve with our maintenance advice:
- Clean Frequently: Clean your shower fixtures with a solution made of vinegar to prevent excessive buildup of minerals a few times per month.
- Handle with Care: Try not to force handles or buttons and reduce wear.
- Check Yearly: Look for leaks, rust and stiffness to catch problems early.
Regular maintenance helps you keep your shower diverter working for years to come.
Troubleshooting & Known Issues
Despite best efforts, diverter valves can have issues. These are just a few of the most common issues, and how to solve them:
- Leaks: Plumber’s tape on the threads for small leaks or replace the valve if the seal is old.
- Sticky Action: Use silicone lubricant to free up components that slide against each other.
- Strange Sounds: Whistling or humming noises typically point to an internal problem, and the unit will need to be replaced right away.
If in doubt, write up the problem and speak to an expert.
Professional Plumber – When to Make the Call
Read more: Beyond the toilet: 8 of the most germ-filled places in your home Although installing or servicing a diverter valve can be a fairly straightforward DIY endeavor, you may need a pro if anything like the following is the case in your shower.
Complex plumbing systems
- Problems following medals have remained after changing
- Low water pressure outside the diverter valve’s range
- A plumber will be able to diagnose and remedy complex issues that can’t be resolved with standard tools and methods.
The Importance of a Working Shower Diverter Valve
The shower diverter valve is a little (but important) part of your shower that makes this possible. Because working valves lead to water conservation, better showers and a bathroom you can depend on. Whether you are troubleshooting a broken valve or just wondering what is involved in replacing or resealing one, investing the time to know this fundamental part of plumbing is invaluable.
If you think your shower diverter pull down needs replaced or repaired, don’t wait any longer to fix it up. Given what you’ve learned in this guide, the maintenance, replacements and even some tricky troubleshooting decisions are now easily within your grasp. And don’t forget, when in doubt, sometimes a call to a professional can save you time and put your mind at ease.